
You're staring at a finished homepage while a teammate asks whether anyone is buying. The honest answer is a shrug, because the pages never learned to report back. To add Google Analytics to your website is to give those pages a voice, but the tag is only the start of measurement. A pasted snippet that nobody tests is a familiar that wanders off.
Installation counts as done once every page, every event, and every consent state has been checked and lined up against a record you already trust, such as orders or lead emails. Until that reconciliation holds, the dashboard is a story, not a ledger.
Table of Contents
- Create Your GA4 Property and Copy the Measurement ID
- Where to Paste the Google Tag on Every Page
- Set Consent Mode Before the Tag Runs
- Verify Events and Test Every Page and Consent State
- Troubleshoot Missing, Duplicate and Inaccurate Data
- Confirm Your Data Before You Trust the Dashboard
Create Your GA4 Property and Copy the Measurement ID
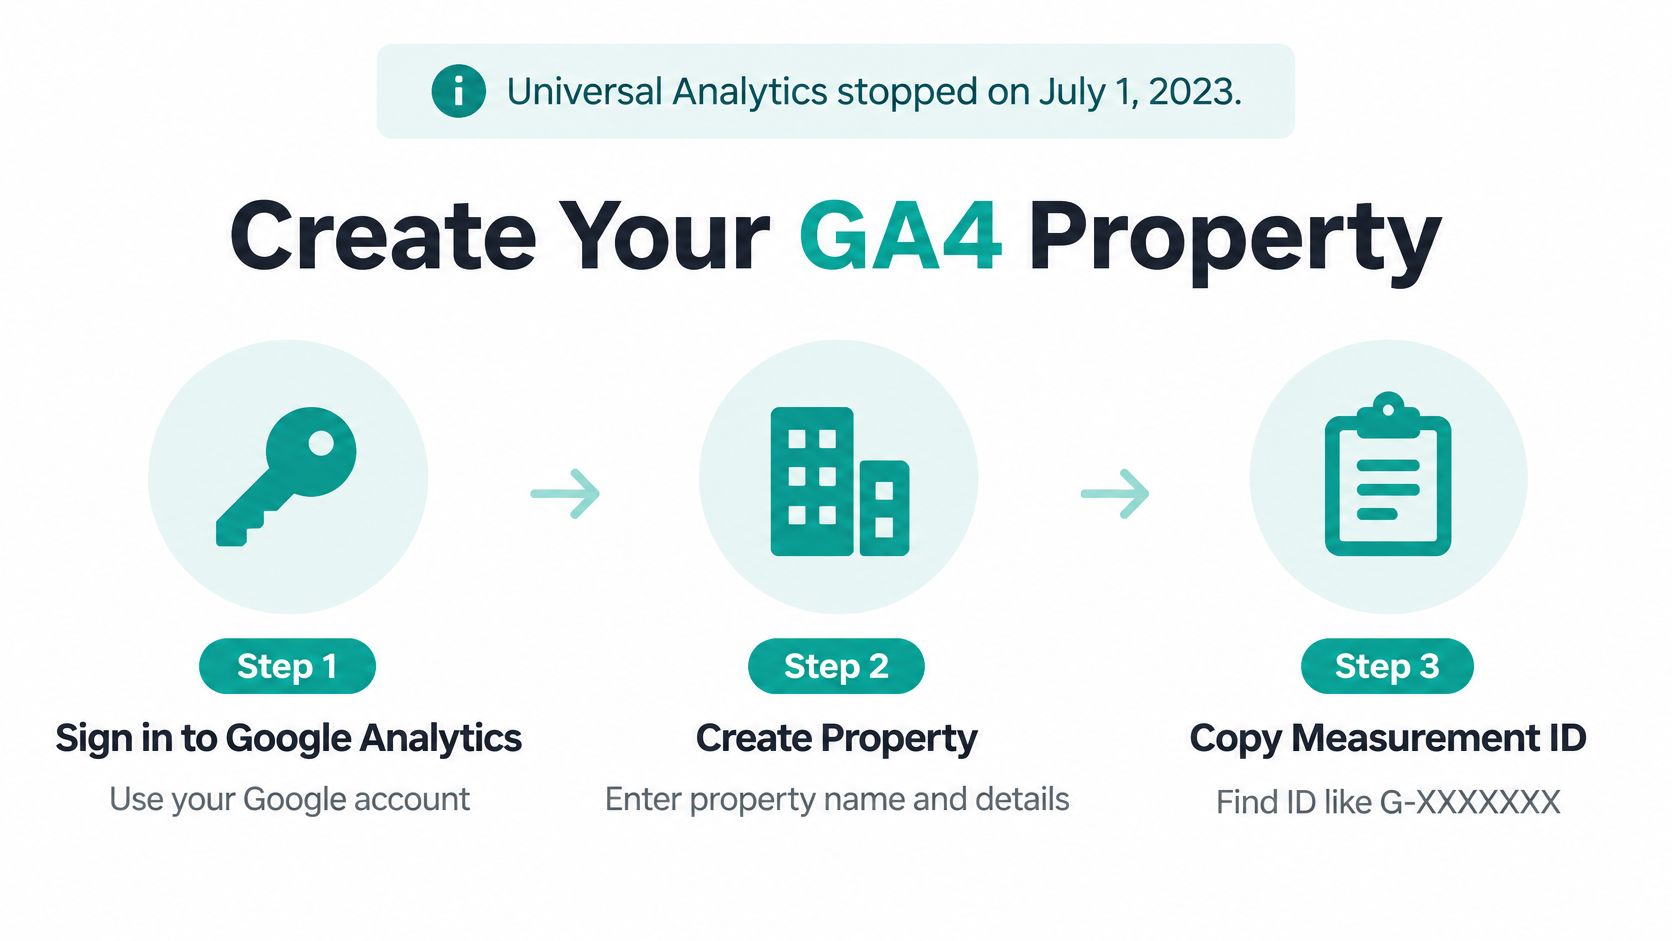
In 2026, Google Analytics was used by 46.2% of all websites measured by W3Techs. A new site should start on Google Analytics 4. Google stopped standard Universal Analytics properties from processing new hits on July 1, 2023, so a tutorial that asks for a UA tracking ID is handing you a dead tag.
Name the property before you copy anything
Sign in and create the property. Open Google Analytics, select Admin, and create a property named after the website. Set the reporting time zone and currency to match the business. A mismatched zone makes "today" start at the wrong hour, and a mismatched currency makes revenue look like another realm's coin.
Choose Web and type the live domain. In the data collection step, pick the Web platform and enter the full domain, including https, exactly as visitors reach it. A shortened or staging address sends the stream to a door nobody uses.
Copy the Measurement ID without a slip. Open the new web data stream and copy the Measurement ID. It starts with G- and then letters and numbers. Read it character by character. One wrong letter causes failure, and the reports stay empty while you blame the campaign.
Choose how long the fine detail lives. Under Admin, then Data Settings, then Data Retention, standard event data keeps either 2 months or 14 months before automatic deletion, per Google's retention setting. Pick 14 months when you need year-over-year comparisons. A later change doesn't restore rows that already expired.
Park the ID beside today's date. Leave the Google tag instructions open in a second tab and paste the ID into your project notes with the date. That note is what you compare against the live page later.
Practical rule: A finished step shows one property, one web stream, and an ID that matches the stream details page.
Treat the Measurement ID as the wizard's true name. Copy it exactly, and never let it drift between your notes and the page.
Where to Paste the Google Tag on Every Page
Google's install instructions tell you to copy the complete JavaScript snippet and place it immediately after the opening <head> element on every page that should send data. The same guide says not to add more than one Google tag to a page. A second tag doubles the signals and warps the reports, the way two overlapping charms shout the same name twice.
A builder without a dedicated Google tag field can take that same complete snippet through its custom HTML, header-code, or custom-code field. After the paste, the setup flow includes a "Test your website" step. Enter the URL there as a first pulse check. It is not the whole exam. A tag that lives only on the homepage leaves product, form, and checkout pages invisible, so the funnel looks shorter than it is.
Placement by the way the site is built
| Site setup | Where the tag goes | Common mistake |
|---|---|---|
| Hand-coded HTML site | Directly after the opening head tag in the shared header file | Pasting it into each page separately creates duplicates |
| WordPress theme | Theme header template or a header-scripts setting | Adding it in both the theme and a plugin doubles page views |
| Shopify online store | Theme header code or the Google and YouTube sales channel, never both | Editing both places sends two hits per visit |
| Builder with a custom code field | Header or custom code area set to apply site-wide | Setting applies to one page only, so inner pages go untracked |
| Builder with no custom code | Built-in Google Analytics integration, if the builder offers one | Also pasting the manual snippet, which creates a second tag |
The classic trap is the WordPress row. The theme already prints the snippet, then a plugin prints it again, and every visit is counted twice. Shopify has the same twin-injection risk if the theme and the sales channel both fire.
If the tag shows in the homepage source but not on one inner page, the job is not finished.
Open a product URL, a form URL, and a checkout URL and search the source for that one G- ID. One match per page. Zero matches means that template never inherited the header. Two matches means you summoned the tag twice.
Set Consent Mode Before the Tag Runs
A visitor lands on a page with analytics consent denied. If the tag has already sent data using a granted default, the banner cannot undo that first signal. Set the consent default before the tag runs, then update it when the visitor chooses. Google's Consent Mode guidance explains how consent signals control Google tags.

Consent Mode follows three steps: the site sets a default, the visitor makes a choice, and the site sends the updated state to Google. In basic consent mode, tags stay blocked until consent is granted. In advanced consent mode, tags load when the page opens and adjust to the visitor's choice, including sending restricted cookieless pings when storage is denied. The key is timing: the default must be set before any tag sends data.
The four signals
- analytics_storage: Whether analytics cookies may be used.
- ad_storage: Whether advertising cookies may be used.
- ad_user_data: Whether user data may be sent for advertising.
- ad_personalization: Whether data may be used to personalize ads.
A button changing color does not prove consent was recorded. The consent tool must save the visitor's choice, and that state must persist as they move between pages. Landing, checkout, upsell, and thank-you pages all need the same configuration.
Redesigns, theme changes, and plugin updates can reset consent settings. Retest the consent state after any site change, especially if software edits the page. For background on data handling when AI edits WordPress, review how your consent choices are carried through those edits.
Watch the walkthrough, then check the settings on your own site.
In Tag Assistant, check each path before calling the setup complete:
- Allow and deny paths: Each choice produces the matching consent state.
- Regional defaults: The initial state matches the region you intended.
- Banner updates: Allowing or denying changes the state, which remains consistent on the next page.
- Purchase attribution: A granted purchase is attributed to the visit. A denied purchase is not treated as if full cookie measurement occurred.
Verify Events and Test Every Page and Consent State
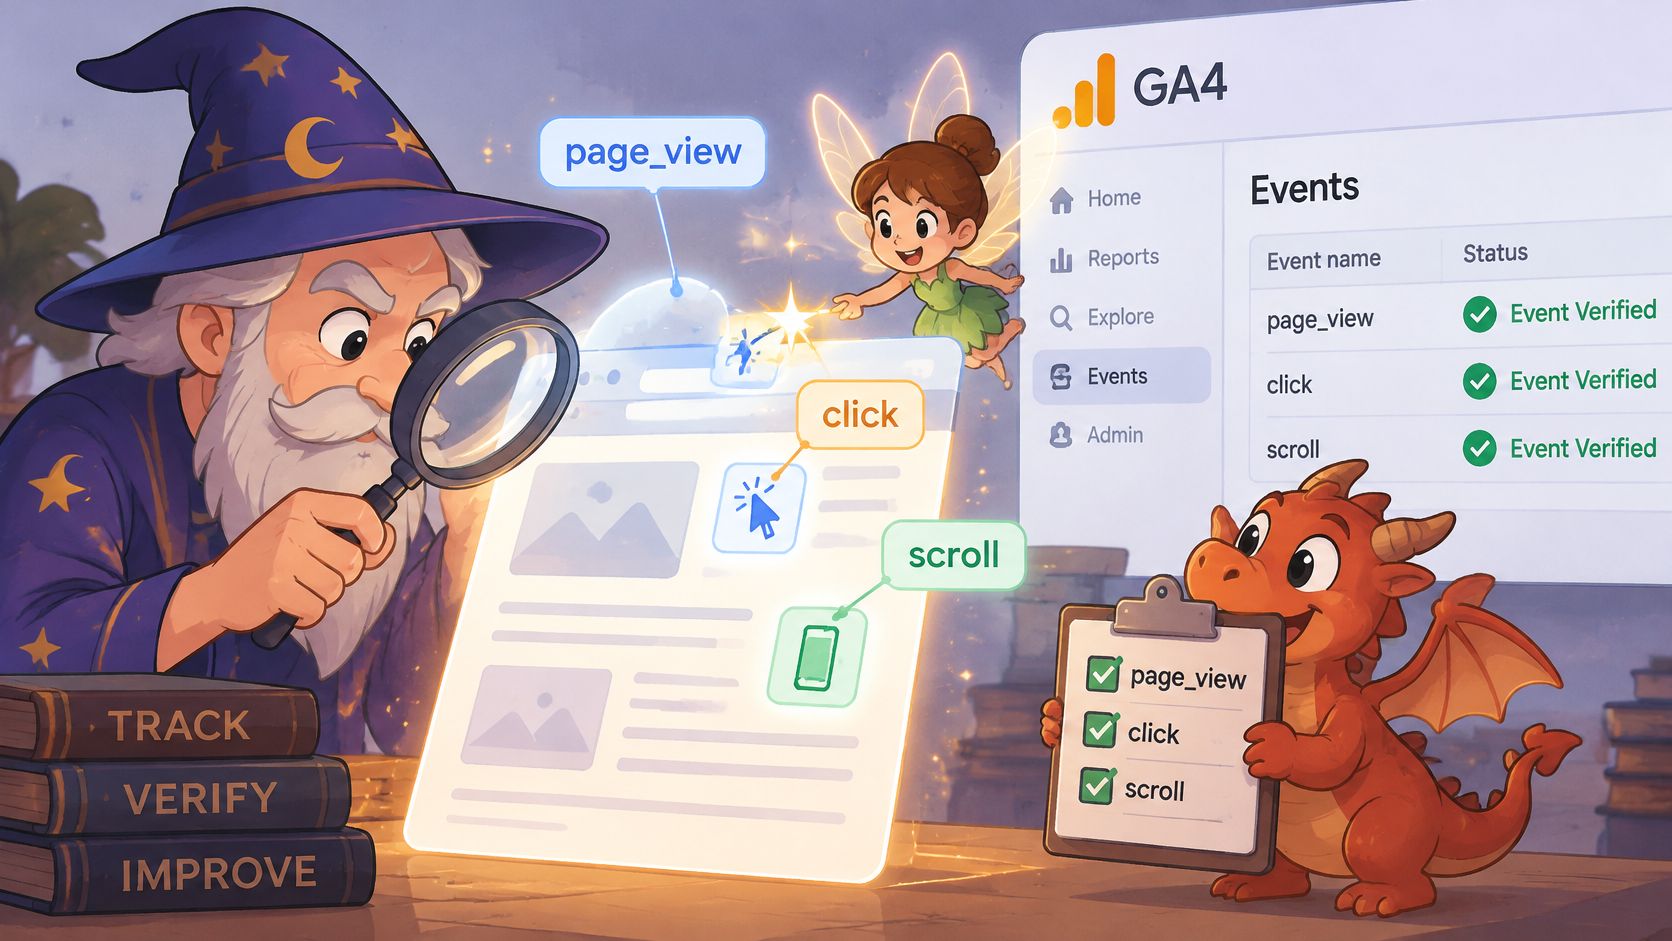
The apprentice pastes the tag, refreshes the homepage, and calls the work finished. Then a shopper reloads the confirmation page and the books grow a second purchase that never happened. A tag in the page source is only the first mark on the parchment. Installation counts as done when every intended event arrives once, under its exact name, on every page and in both consent states, and those hits agree with a record you trust.
Google's Measurement Protocol guide is the reference for events sent from the server, the ones that never pass through the browser. Those hits still need stable identifiers and deduplication. Otherwise the browser event and the server event both land in the ledger, and sessions, conversions, and revenue swell.
The verification ritual
Open DebugView. In GA4, go to Admin and select DebugView under the property. This is the scrying pool, not the public report. If it stays dark, you are not in debug mode yet.
Light the beacon. Turn on debug mode with Google Tag Assistant or the Google Analytics Debugger extension, then open the site in a clean browser session. A profile full of blockers will lie to you before the spell does.
Load the homepage. Confirm one
page_viewwithin a few seconds. Two hits means a second tag or a second page-view setting. Chase that before you celebrate.Step to an inner page. Confirm one
page_viewfor that route, not two. On a single-page app, a route change is its own page. A refresh is not a new route.Trigger one real action. Submit a form or start checkout, then compare the event name and parameters with your event list.
generate_leadandform_submitare different creatures. A nickname that sneaks into the schema will not match the conversion you later look for.Refresh the confirmation page. No purchase and no lead event should fire again. A reload loop mints fake revenue, the way an apprentice invents a dragon hoard by counting the same coin twice.
Then walk the consent matrix. With consent denied, you should see cookieless pings rather than a normal cookie visit, and the reports will look smaller on purpose. Write that gap down. It is not a failed campaign.
If a lead or purchase never arrives, troubleshoot missing conversion events from SourceLoop before you rewrite the offer. When the confirmation screen is where the purchase should fire once, compare that page with these thank-you page examples so the event sits on a page that marks success.
Test matrix for installation coverage
| Test case | What to check | Pass looks like |
|---|---|---|
| Homepage | One page_view on load | One hit in DebugView |
| Key landing pages | Tag present on each URL | Events appear for every page template |
| Single-page app route change | page_view on each virtual route | One hit per route, not per refresh |
| Form submission | Lead event fires once | Event name and parameters match the event list |
| Checkout or thank-you page | Purchase fires on confirmation only | No purchase event on refresh |
| Consent granted | Full measurement data sent | Analytics consent shows as granted in Tag Assistant |
| Consent denied | Cookieless pings only | No analytics cookies set and denied state visible |
| Browser with a blocking extension | Hits detected or gap noted | Known gaps documented, not ignored |
Pass rule: every intended event appears once in DebugView, and every matrix row matches its pass column. Anything else stays unpublished.
Troubleshoot Missing, Duplicate and Inaccurate Data
Most failures still produce a chart that looks believable. Google's troubleshooting notes name the usual culprits: a mistyped Measurement ID, a tag missing from some pages, bad placement, consent that blocks tags, browser privacy extensions, and active Analytics filters. Work in that order so you don't "fix" a campaign that was never measured.
- Measurement ID mismatch. Compare the ID in the snippet with the stream details page, character by character.
- Missing tag. Open the source of any URL with no data. If the Google tag is absent, the template or builder setting isn't site-wide.
- Duplicate tags. If two Google tags appear, remove the extra injection from the theme, plugin, or builder and keep one.
- Consent blocking. Check the state in Tag Assistant. Denied consent reduces hits by design.
- Privacy extensions. Retest in a clean browser profile. If hits return, the earlier gap was the extension.
- Active filters. Review internal-traffic and developer-traffic filters. One left on can swallow your own test visits.
- Reload loops. If an event fires on every refresh of a confirmation page, move the trigger so it fires once.
Symptoms, causes and first fixes
| Symptom | Likely cause | First fix |
|---|---|---|
| No data in Real-time report | Wrong Measurement ID or tag missing from the page | Compare the ID character by character and check the page source of the failing URL |
| Two page_views per visit | Tag added in both the theme and a plugin | Remove one injection point and keep one tag |
| Inner pages missing | Header code applied to the homepage only | Set the snippet to apply site-wide |
| Traffic drops suddenly | Consent denied, privacy extensions, or active filters | Check consent in Tag Assistant, review filters, compare with server logs |
| Events fire on refresh | Confirmation page reloads re-trigger the event | Fire the event once on confirmation and block repeat firing |
A sudden drop can also be messy campaign labels. Clean UTM naming for SaaS demand gen from Big Moves Marketing keeps source names from splitting one channel into five. Whatever still doesn't match your server logs or order count becomes a written gap, not a reason to ignore the numbers. When you do act on a real drop-off, start from how to optimize conversion rate only after the hit count itself is honest.
Confirm Your Data Before You Trust the Dashboard
Publish only when every gate passes. One unchecked box turns the dashboard into a guess, and guesses make expensive changes to headlines, prices, and ads.
The go-live gate
- One property, one web stream. No spare stream collecting a second, quieter truth.
- One Google tag per page. Confirmed on every tracked URL, not only the homepage.
- DebugView is clean. Each intended event appears once, under its exact name.
- Both consent states passed the matrix. Allow and deny each did what you designed.
- The default is written down. The consent default lives with the site configuration, dated.
Then put a monthly reconciliation on the calendar. Compare GA4 lead and transaction counts with your CRM or order records, and write the gap you accept that month. A gap you named is a limit. A gap you didn't notice becomes a fake win.
For a site that Web Mage generates from a plain-English description, including pages, copy, images, and layout, confirm the tag on every generated funnel page before you publish. That means landing, checkout, upsell, and thank-you. Our Analytics Oracle familiar reads site analytics to surface visitors who stall or abandon, and that reading is only as sharp as the events you verified. Once the gate is green, experiments are fair game, including the setup in A/B testing for websites.
Finish today by completing the gate, then compare one week of GA4 numbers with a trusted record before you change a word of the offer.
Web Mage builds a live website or sales funnel from a plain-English description, then keeps measurement useful through familiars that read analytics and surface where visitors stall. If you want that enchantment on a site whose tag, events, and consent states are already proven, visit Web Mage and describe the site you need.